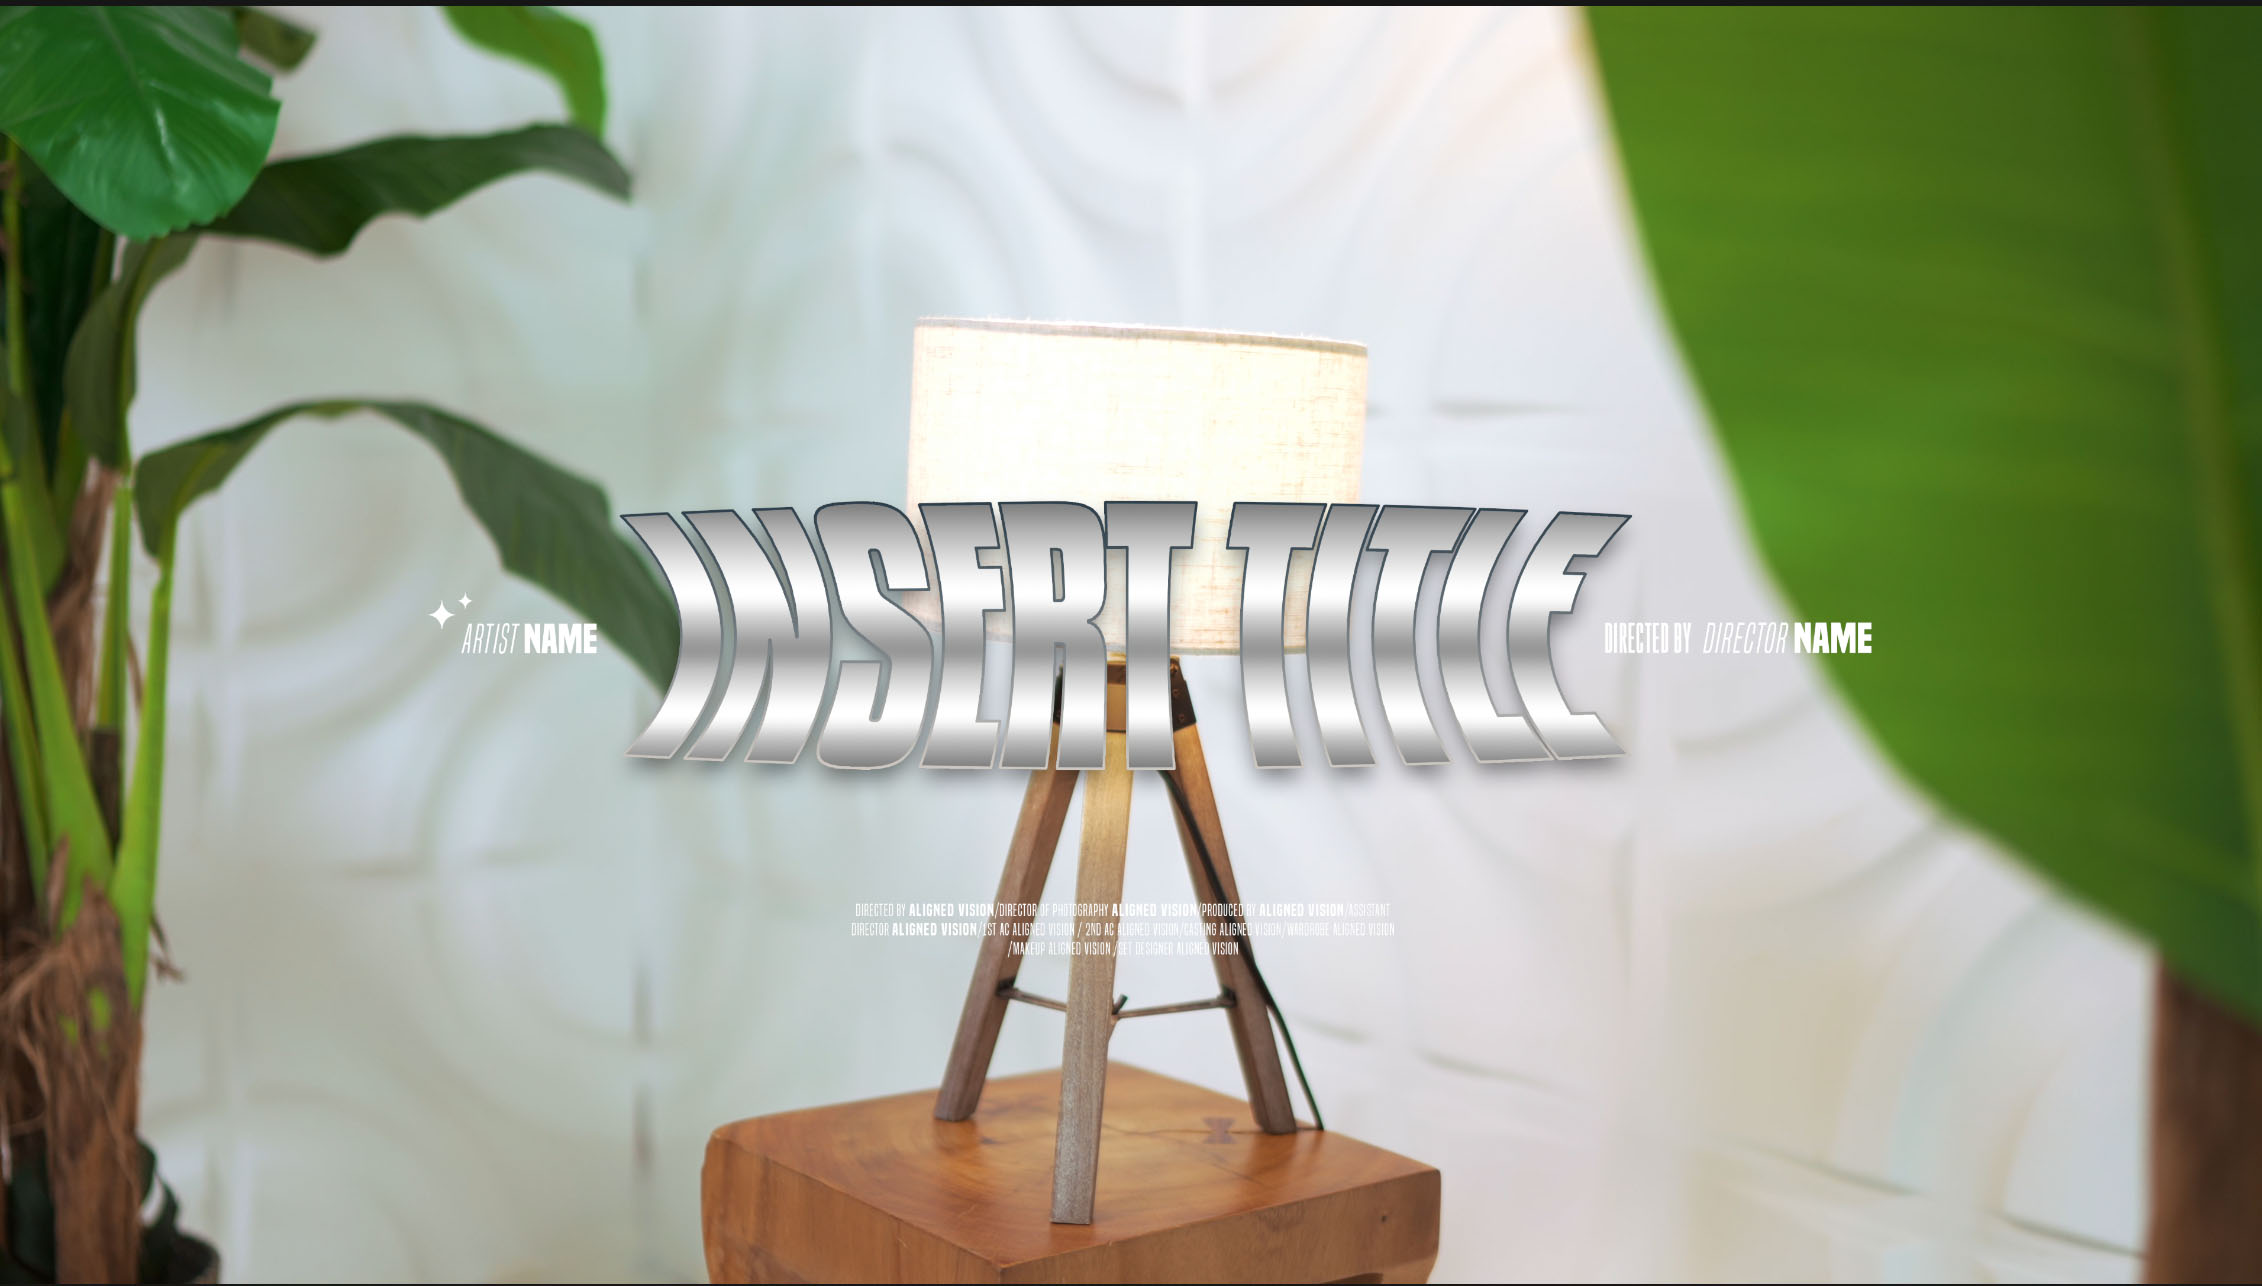
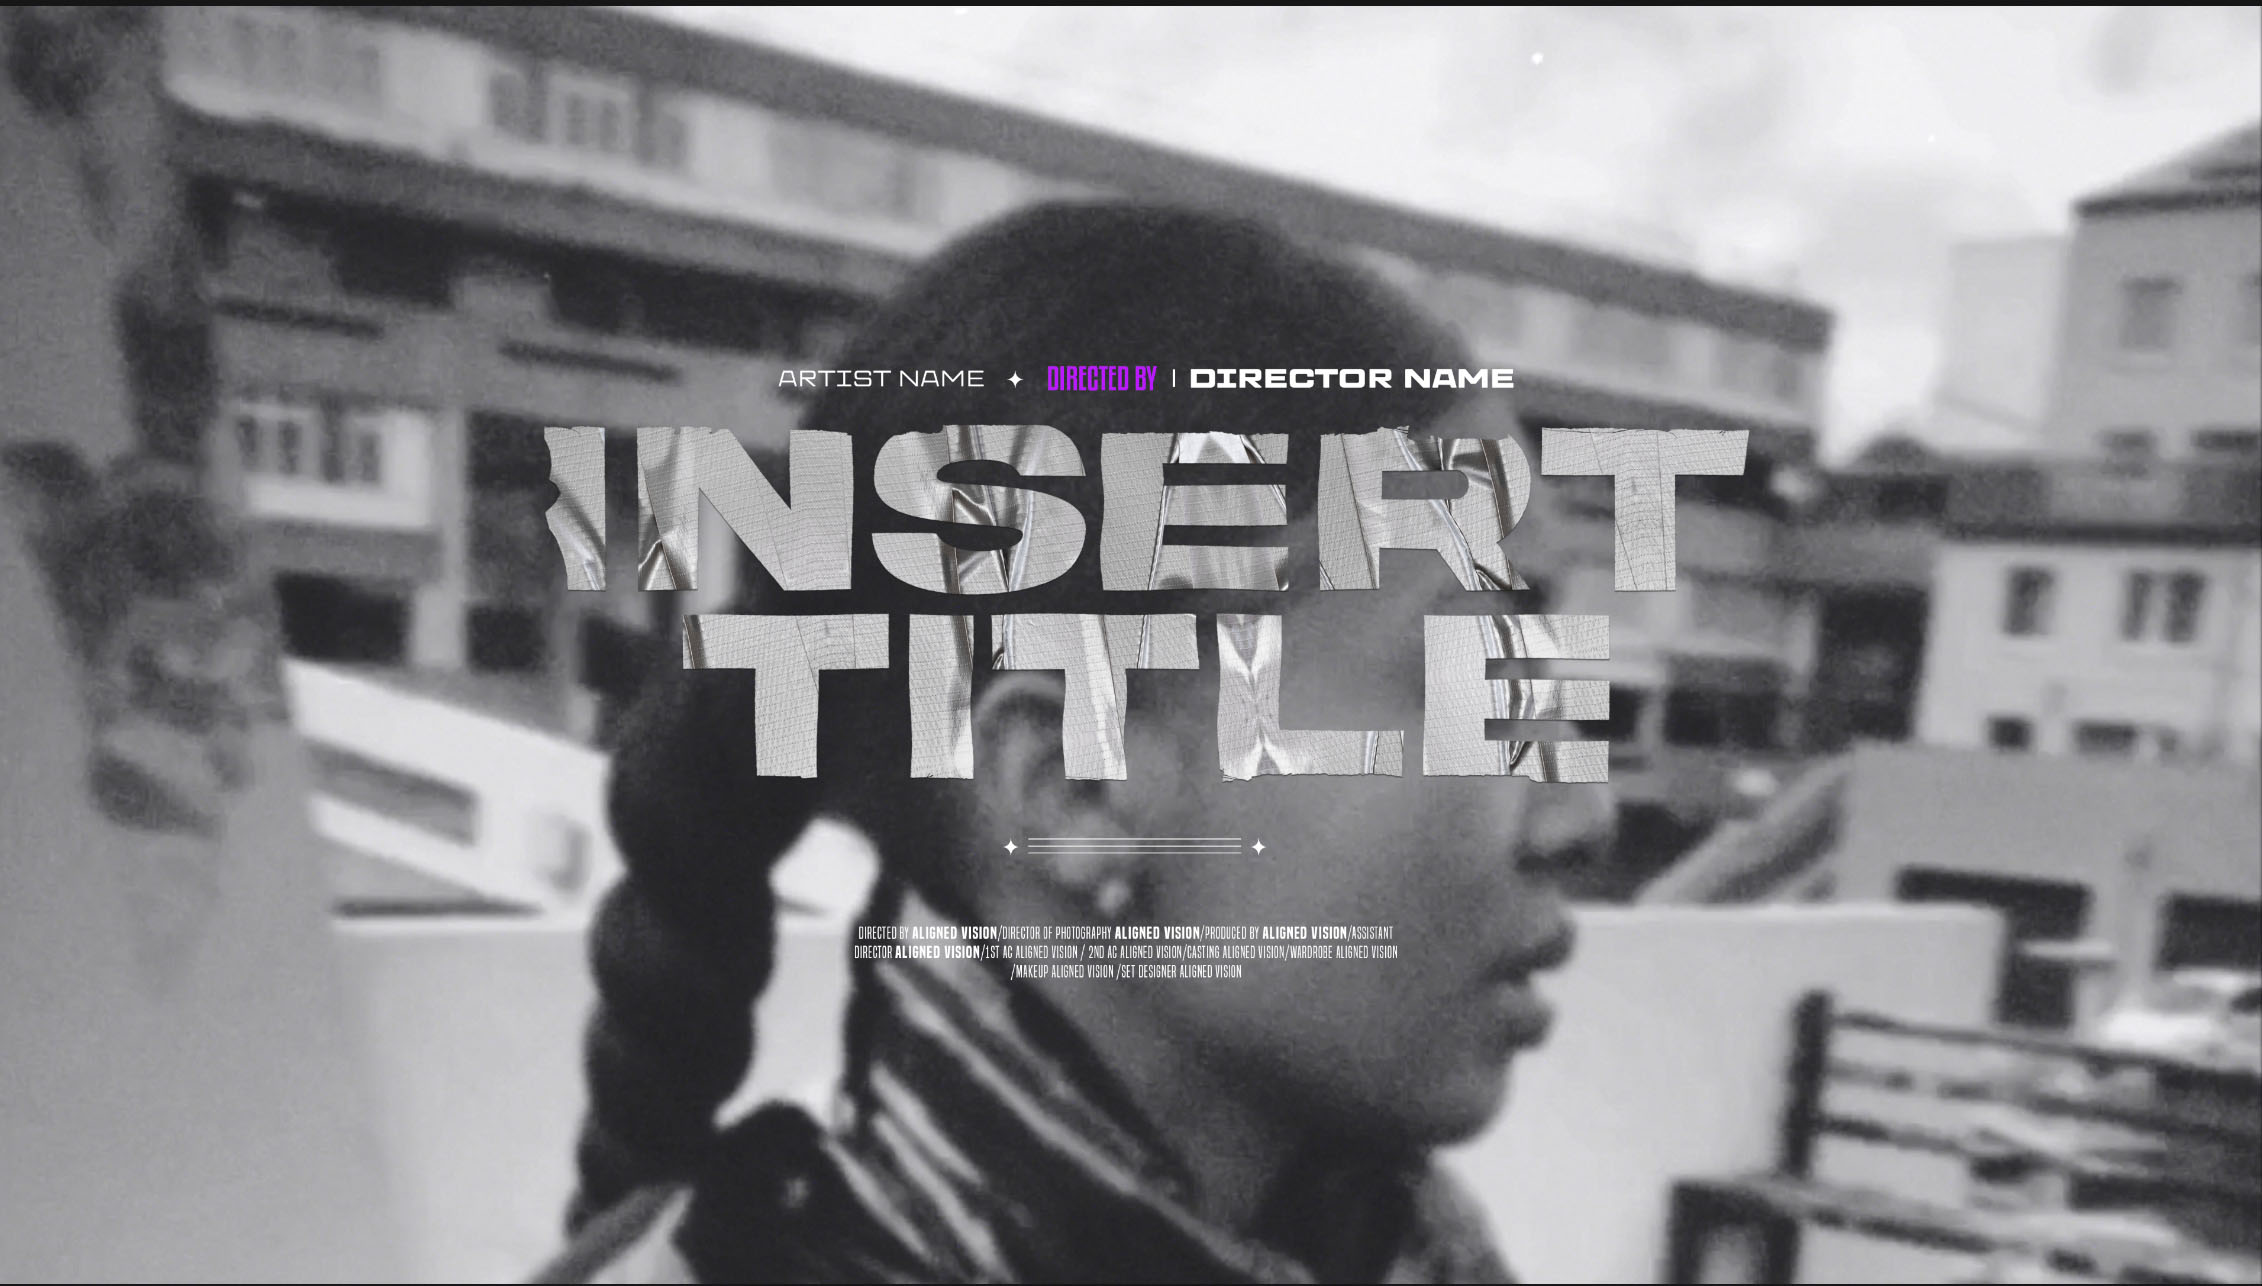
There are two ways to get a Photoshop title onto video. You can import the layered PSD straight into Premiere Pro, which keeps the empty areas transparent. Or you can export a transparent PNG from Photoshop and place it above your footage in any editor. Either way, finish the wording in Photoshop and make the file at least as large as your sequence frame.
Get the file ready in Photoshop
- Finish the wording. Premiere Pro brings each Photoshop layer in as a still image clip, so make every text change in Photoshop first. How to edit a PSD title template in Photoshop walks through it.
- Match the frame size. Adobe’s guide to importing still images recommends files at least as large as the project’s frame size, because scaling an image up beyond its original size can make it lose sharpness. If you plan to scale a title up by 200%, prepare it at double the project frame size.
- Remove a white background. Photoshop exports a white background as solid white, and an empty (checkerboard) background as transparency. Hide or delete any background layer you don’t want over the footage.
- Name your layers. Premiere names each imported layer clip with the layer name followed by the file name, so clear layer names make the bin easier to read.
Route 1: import the PSD into Premiere Pro
Adobe’s page on importing Photoshop and Illustrator files covers this route. Premiere can import files from Photoshop 3.0 or later. Empty areas come in transparent, because the transparency is stored as an alpha channel. That means you can lay the title over clips on lower tracks with no extra work.
Choose an import option
When you import a PSD with layers, the Import Layered File menu gives you four options:
- Merge All Layers imports the whole file as one flattened clip. Use it for a title that appears all at once.
- Merged Layers merges only the layers you select into one clip. Use it to leave out a layer you don’t want, such as a background image.
- Individual Layers imports each selected layer as its own clip in a bin. This lets you animate parts separately, for example bringing the artist’s name in after the song title.
- Sequence imports the selected layers as separate clips and builds a sequence with each one on its own track. You then choose Document Size, which matches the clips to the frame size in your sequence settings, or Layer Size, which matches them to their source layers in Photoshop.
What Premiere keeps
Premiere imports the attributes applied in the Photoshop file. These include position, opacity, visibility, transparency, layer masks, adjustment layers, common layer effects, layer clipping paths, vector masks and clipping groups.
Adobe also notes that individual layers taken out of a Photoshop composition may not behave as expected. Play the title through and compare it with the Photoshop file before you move on.
Set the duration before importing
Each layer comes in at the default duration for still images, which you set in Premiere’s Preferences. Set it to the length you want the title on screen before you import, or trim the clips on the timeline afterwards.
If the wording changes
Go back to Photoshop, make the change and save the PSD. Then bring the new version into Premiere and replace the old title on the timeline. Saving each version under a new name, such as adding “v2” to the end, makes it clear which one you’re using. Check every place the title appears in your edit.
Route 2: export a PNG for any editor
Some editors can’t read layered Photoshop files. Most video editors can place a PNG with transparency over footage. Set up Photoshop’s Quick Export once, as described in Adobe’s Quick Export guide:
- Choose Photoshop > Preferences > Export on a Mac, or Edit > Preferences > Export on Windows.
- Set the Quick Export Format to PNG and choose Transparency.
- Choose File > Export > Quick Export as PNG. To export only certain layers, select them in the Layers panel, right-click and choose Quick Export as PNG.
Put the PNG on a track above your footage, and the video shows through the empty areas. If you want the title to fade in and out, animate its opacity in your editor.
Exporting the parts of a title as separate PNGs, such as the artist name and the song title, lets you animate each one on its own in the edit.
Animating the text in After Effects
If you want to animate the words themselves, After Effects can turn Photoshop text into editable text. Adobe’s guide to creating and editing text layers says to add the Photoshop text layer to your composition, select it and choose Layer > Create > Convert to Editable Text. If you imported the document as merged layers, choose Layer > Create > Convert to Layered Comp first. Layer styles on the text become editable layer styles.
Which route to use
- Layered PSD in Premiere Pro, when you want to animate separate parts and keep the layout exactly as designed.
- Transparent PNG, for other editors, or when you’re sending a title to someone else to drop into their edit.
- After Effects, when you want the letters themselves to move.
Where to get titles
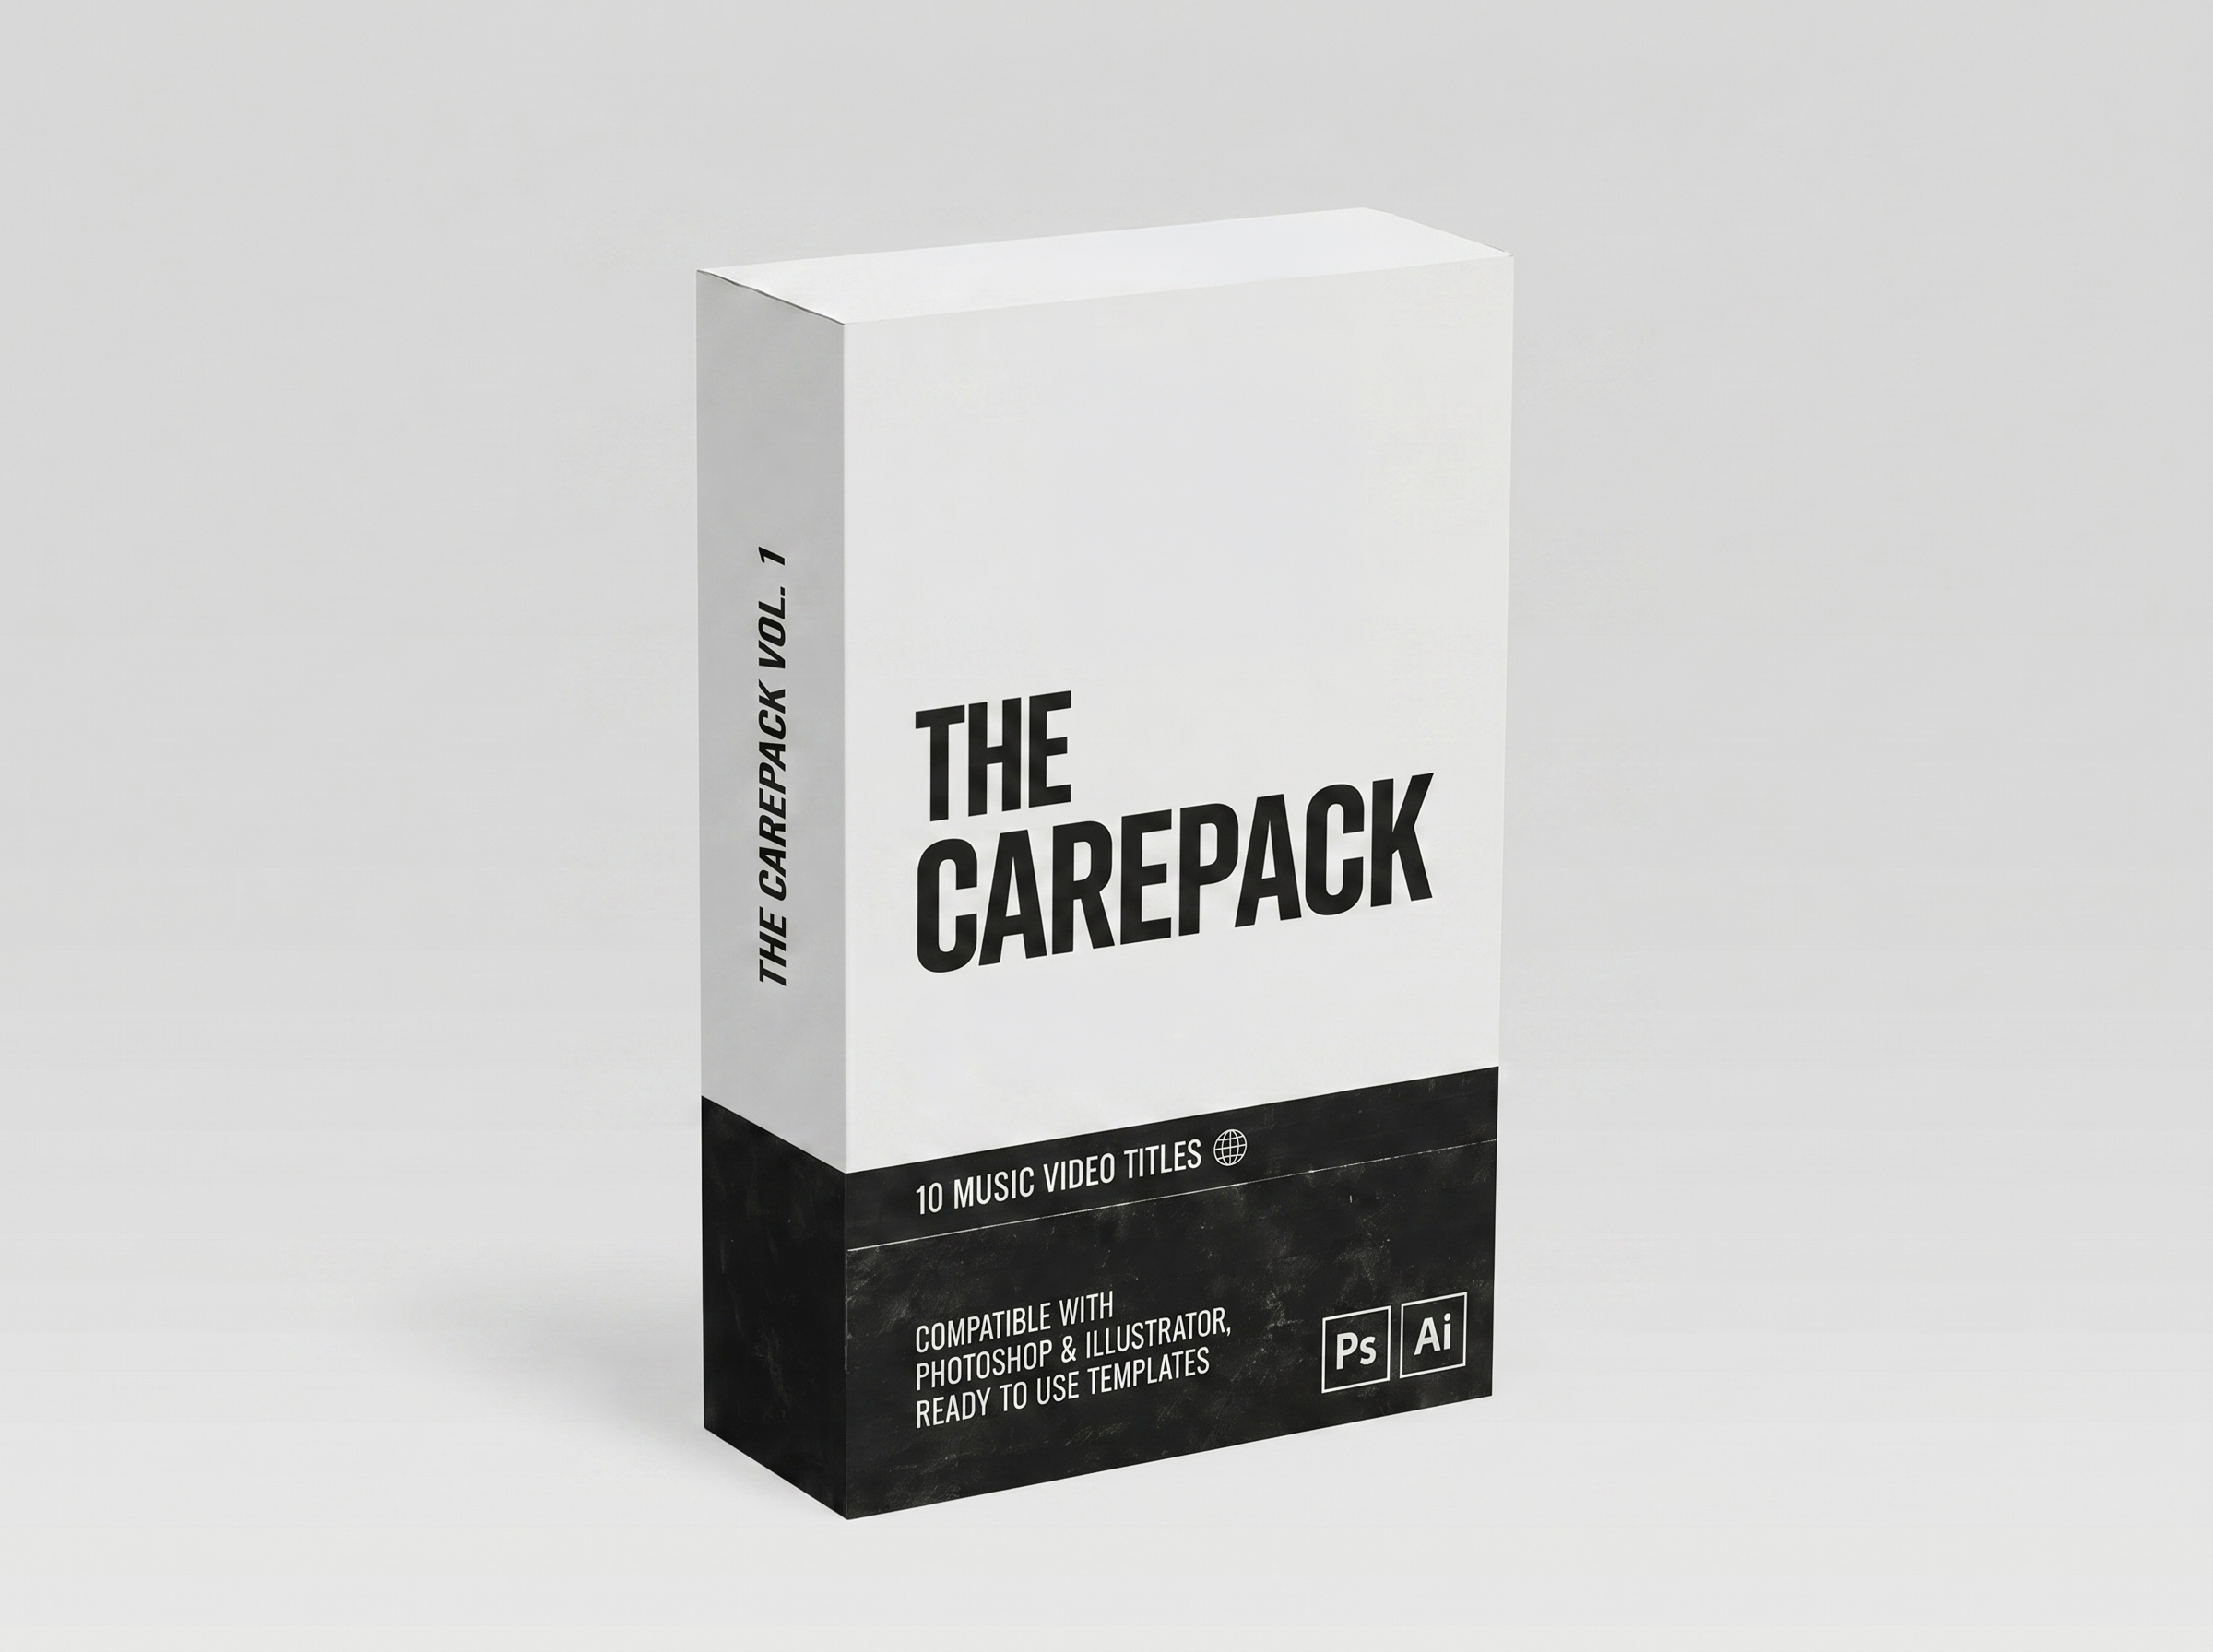
The AV Store lists the software requirements in each product description. Most assets are designed for Adobe Photoshop, Premiere Pro, After Effects or other industry-standard creative applications. The Care Package (Vol. 1) is a set of 10 fully editable Photoshop title templates for £9.99.
The same design can become your thumbnail too. See Making YouTube thumbnails from your title templates, and for what to put on the card, Music video title cards: what to include and where to place them.
Questions about a file? Get in touch.