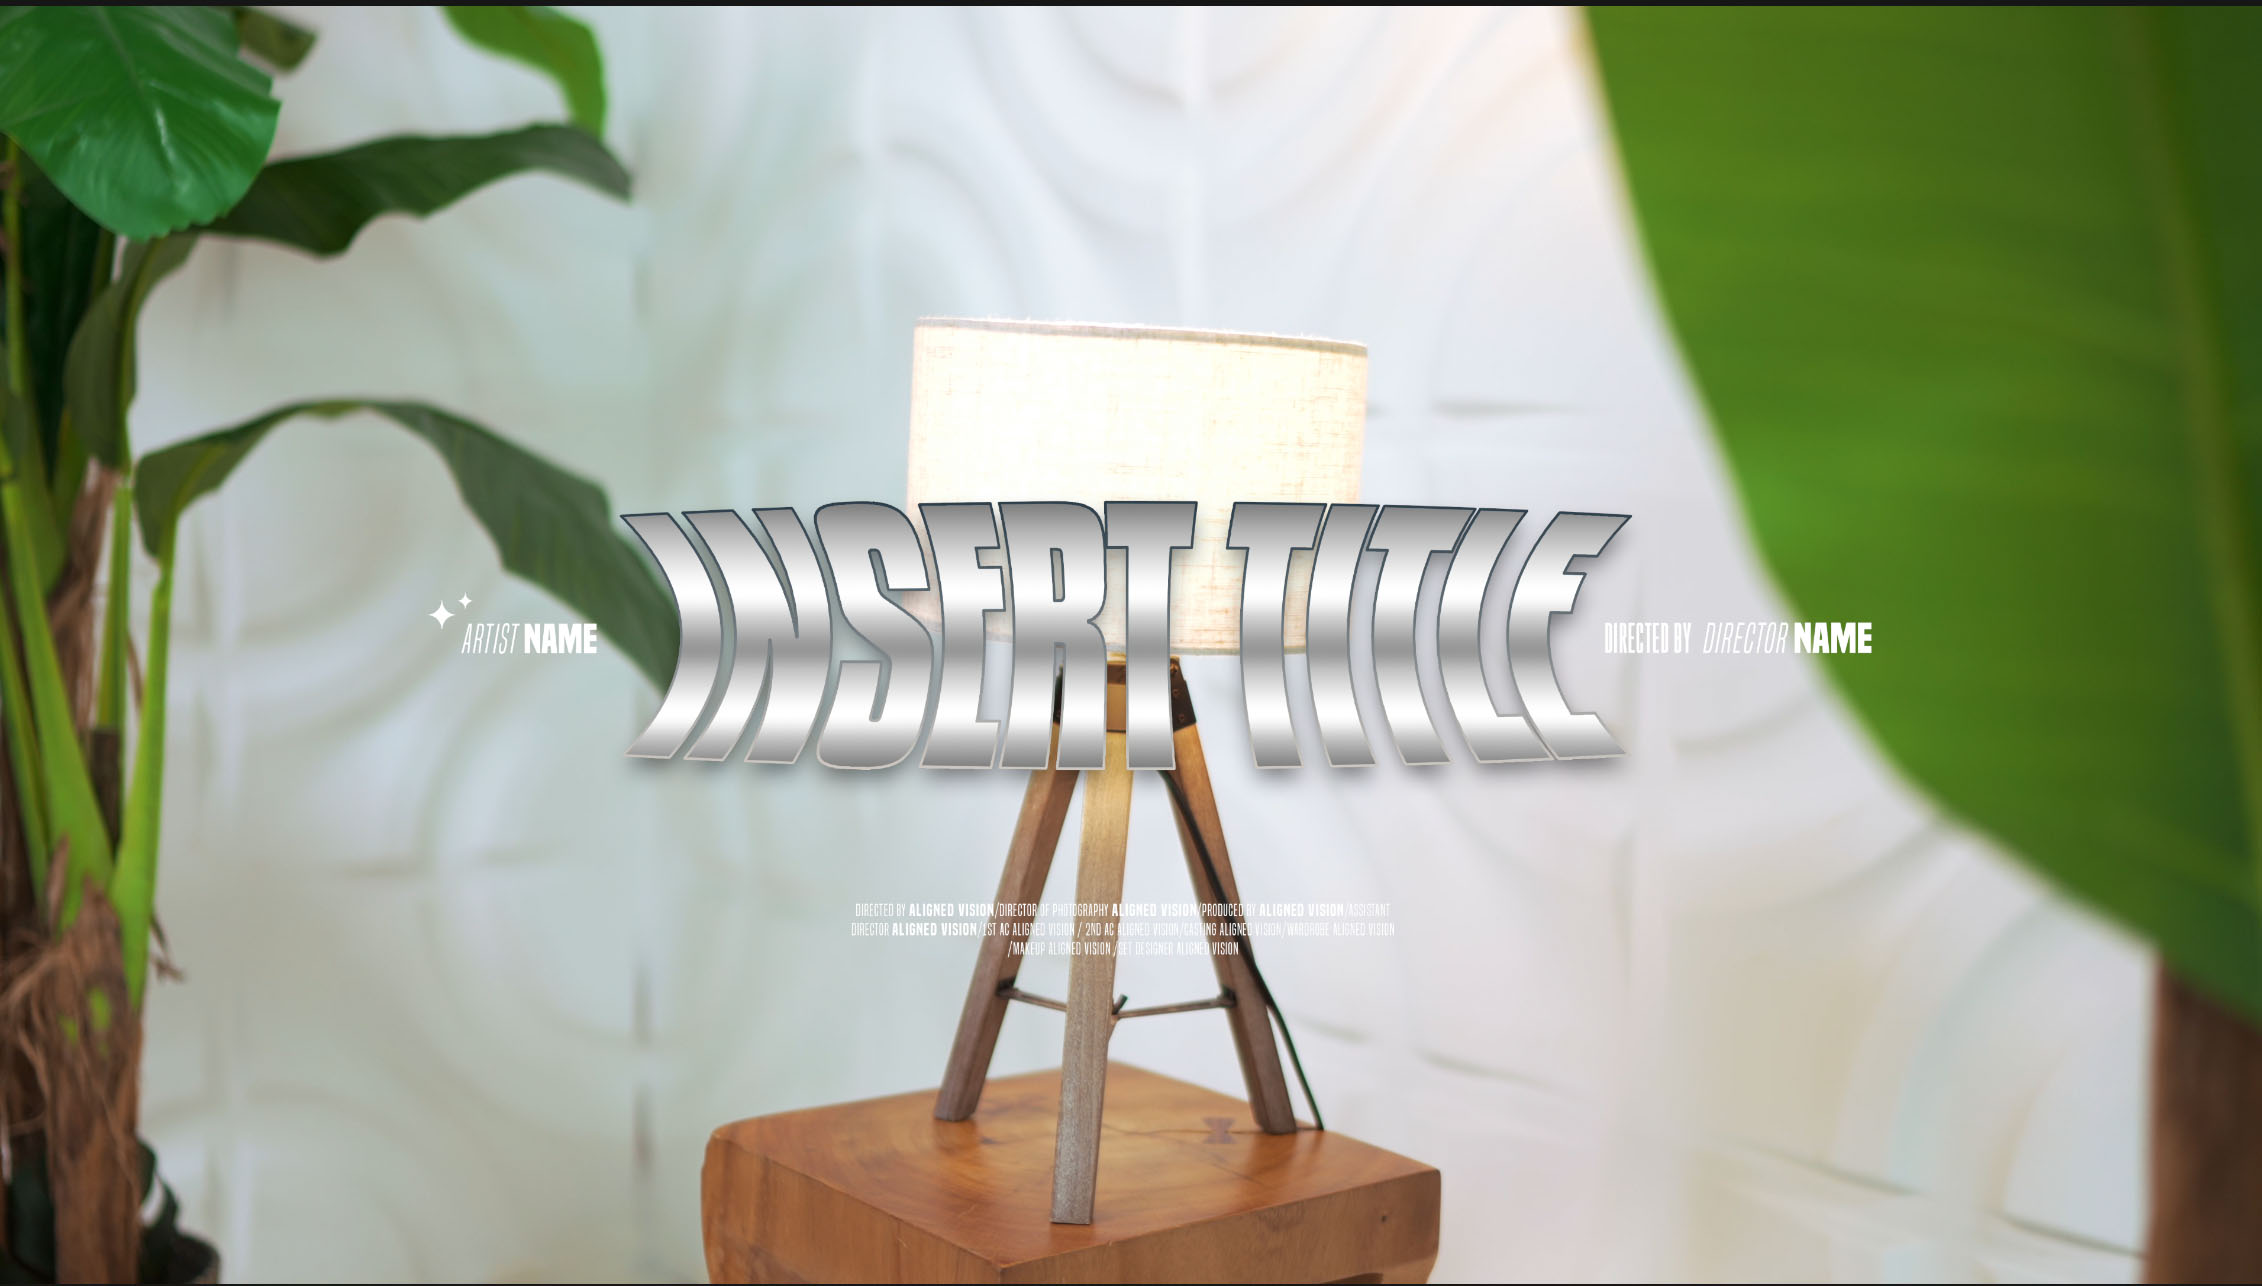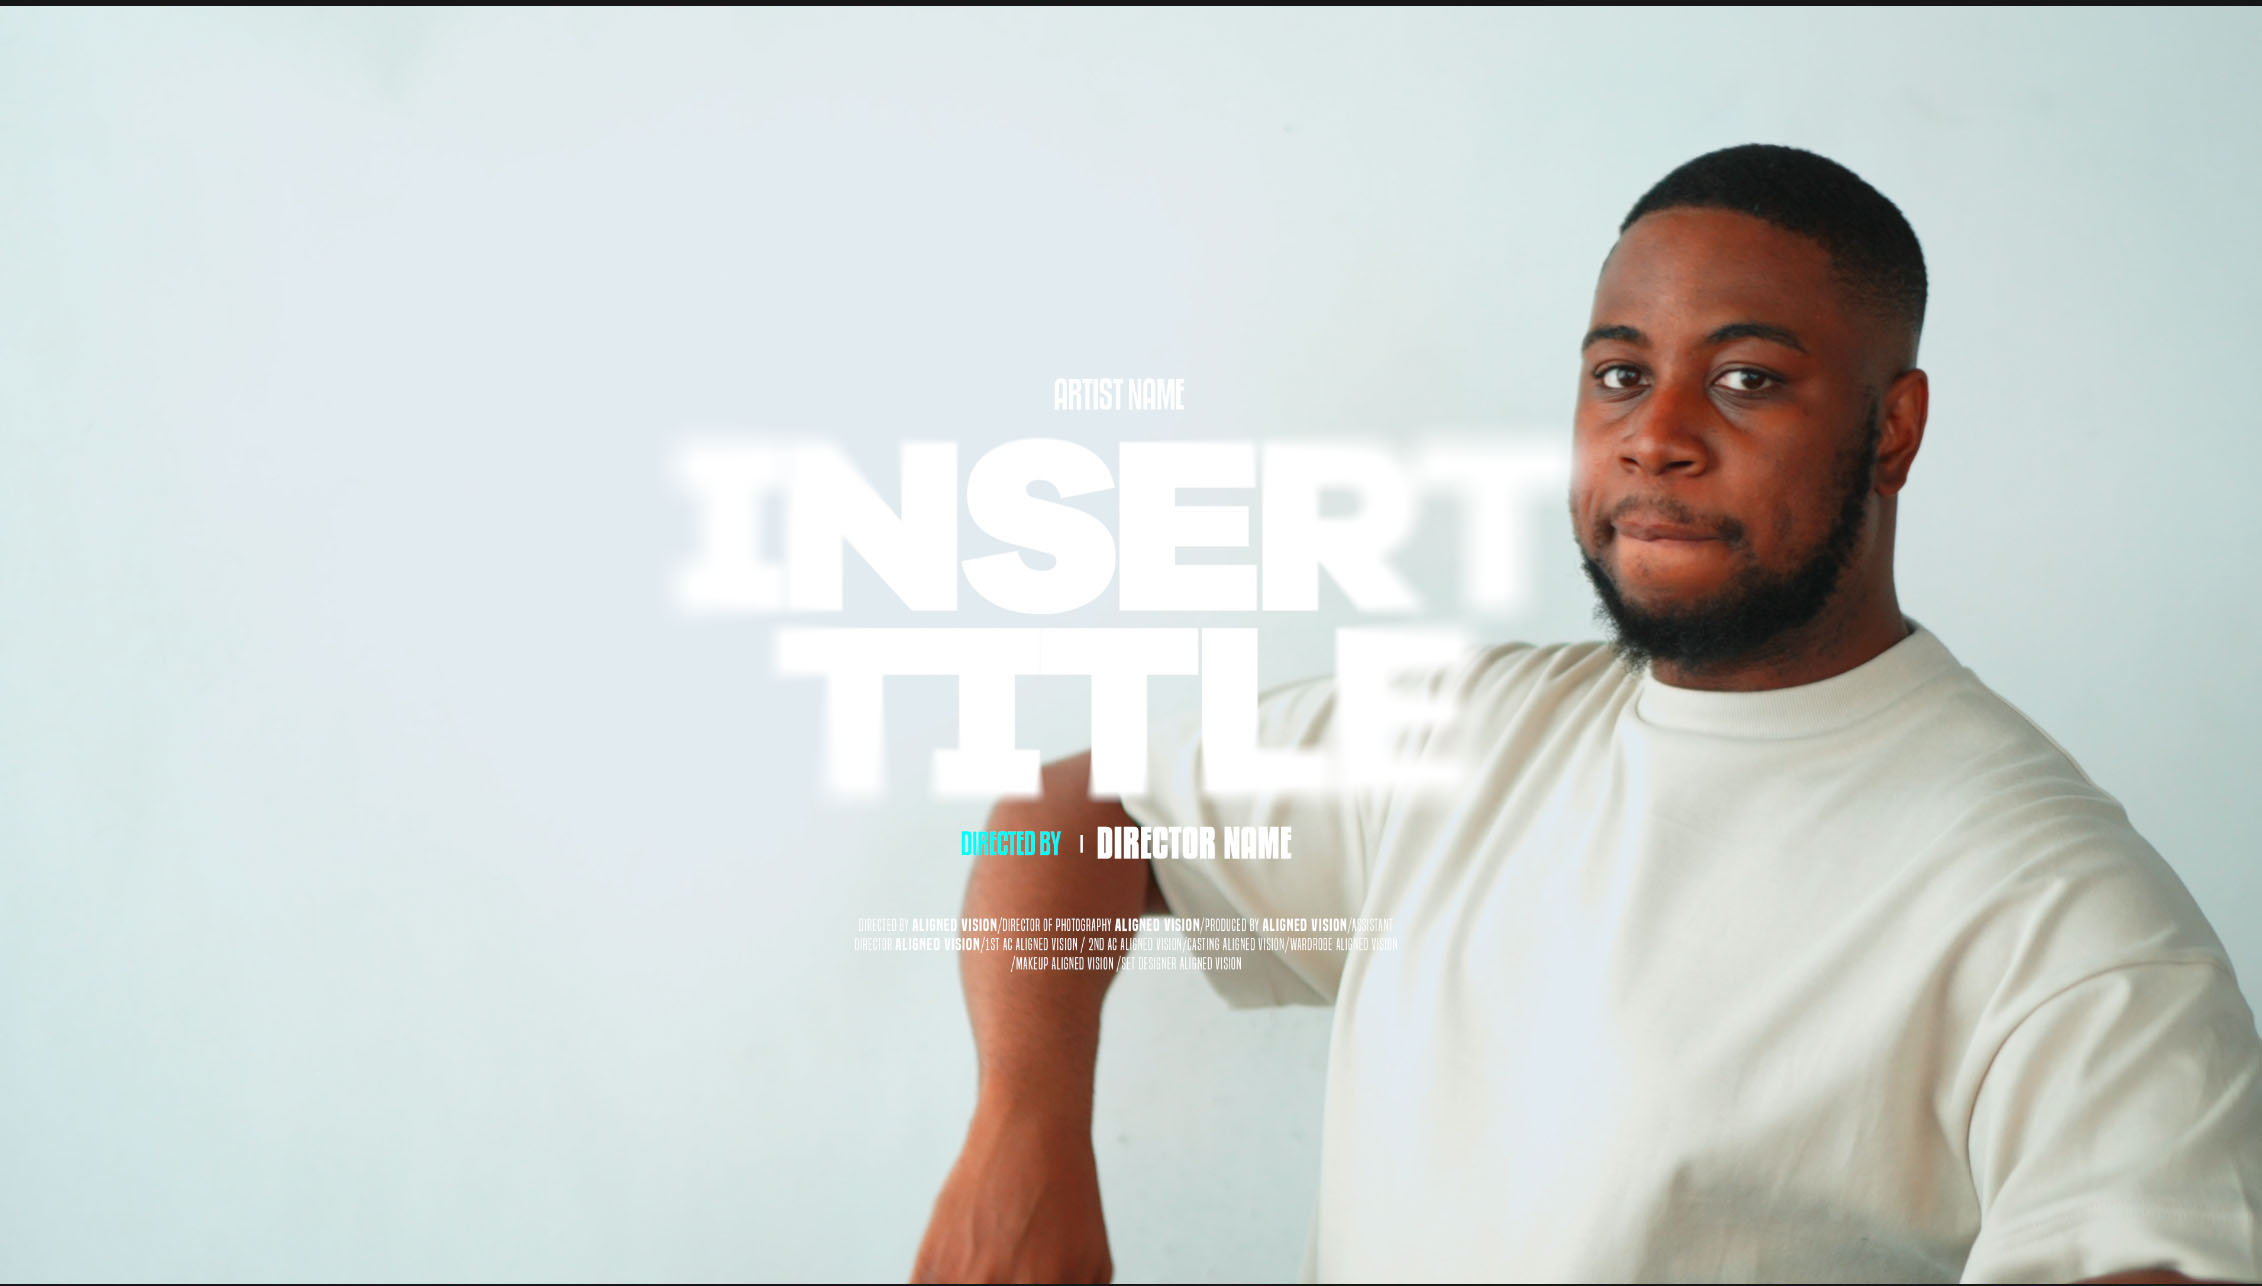
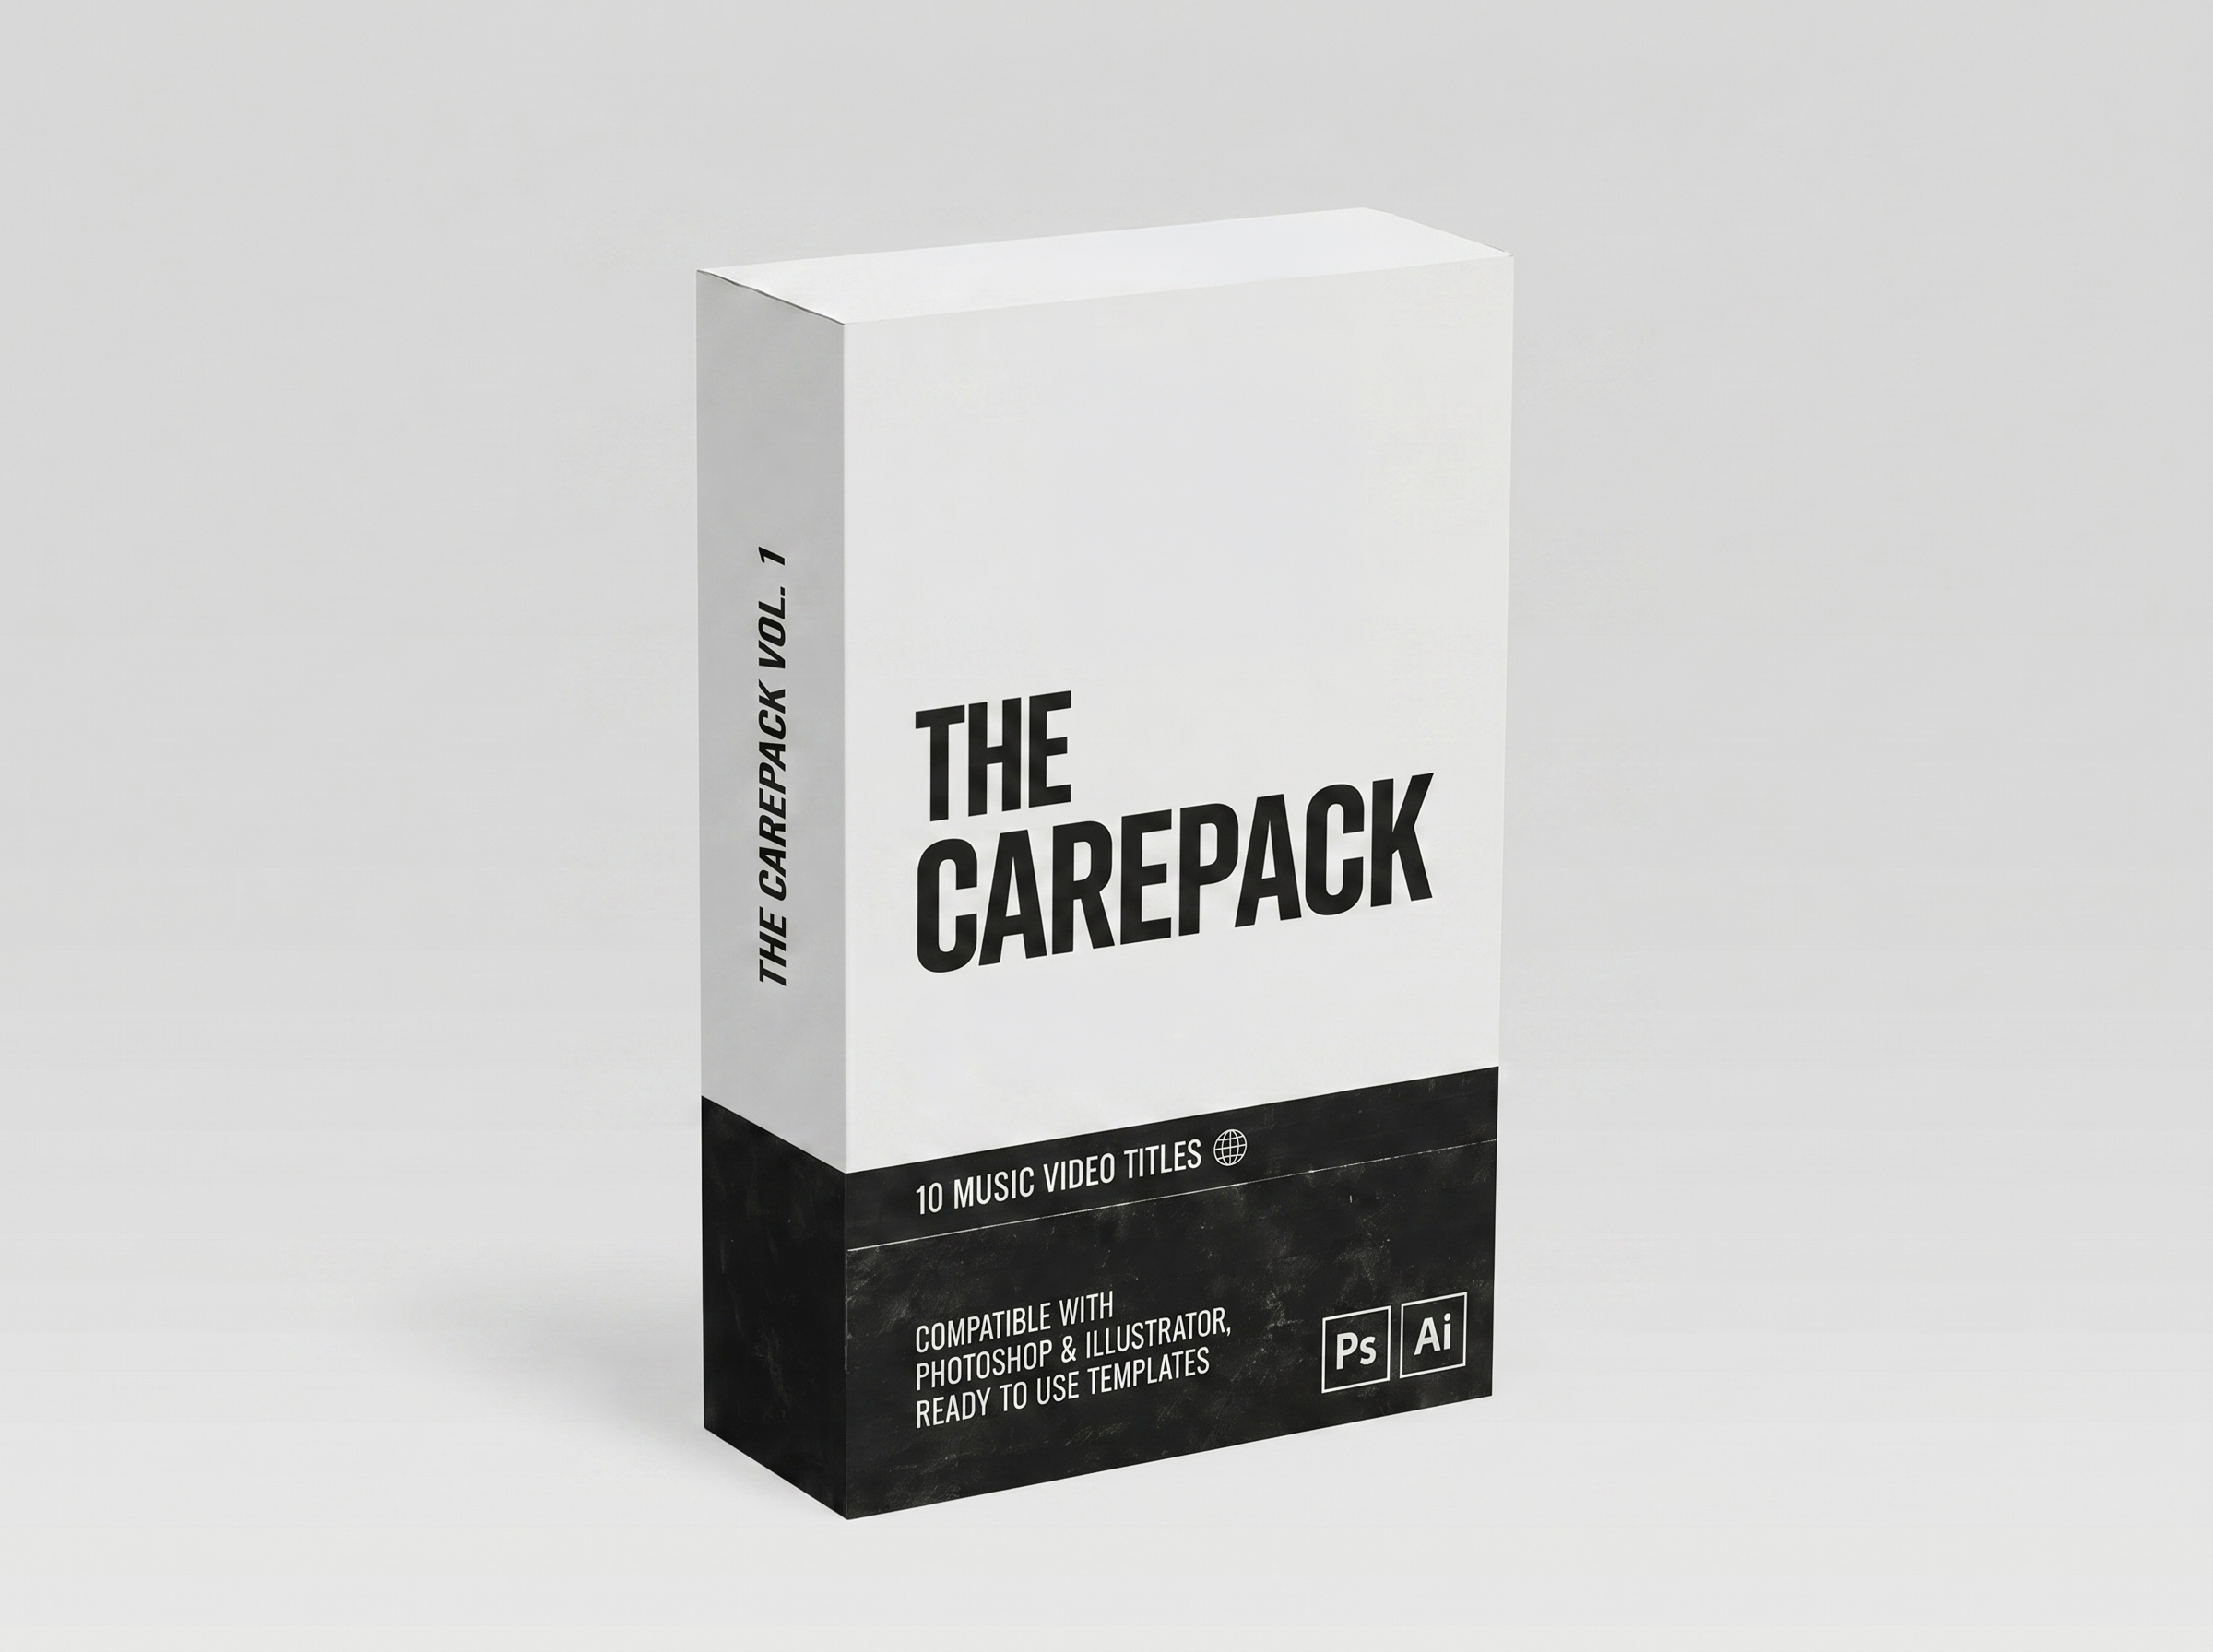
Open the PSD and fix any missing fonts Photoshop warns you about. Then find the text in the Layers panel, double-click the layer’s T thumbnail and type your words. When the design is finished, export it as a PNG with a transparent background. The steps below use The Care Package from the AV Store as the example, with links to Adobe’s own help pages.
Before you start
Check the software requirements. Each product in the AV Store lists them in its description, and most assets are designed for Adobe Photoshop, Premiere Pro or After Effects. The Care Package is fully editable in Adobe Photoshop.
Products are delivered digitally, so you can download the files as soon as payment is complete. Keep the original download somewhere safe and work on a copy. That way you can always go back to the untouched template.
1. Fix missing fonts
If the template uses fonts that aren’t installed on your computer, Photoshop shows a Missing Fonts message when you open it. Adobe’s guide to resolving missing fonts explains what to do:
- In the Missing Fonts dialog, tick the fonts you want to activate. The dialog shows which ones can be added through Adobe Fonts.
- Select Add to sync them to your computer. They’re applied to the document automatically.
You need an internet connection and must be signed in to the Creative Cloud desktop app for this to work. If a font can’t be activated, Photoshop uses a default font in its place, which can change the layout. Fonts that aren’t on Adobe Fonts can be bought from the font foundry or an authorised reseller.
Sort out fonts before you change any text, so you’re working with the design as it was made. Before using a font on paid work, check its licence. See Fonts and template licences for client work.
2. Find the type layers
Show the Layers panel (Window > Layers). Text sits on type layers, which show a T as their thumbnail. Templates often keep related layers in groups, so click the arrow beside a group to open it. Turning a layer’s eye icon off and on is a quick way to see which layer is which.
3. Edit the text
Adobe’s Edit text page gives three ways to select a type layer for editing:
- With the Move tool selected, double-click the type layer on the canvas.
- Select the Horizontal Type tool, then select the type layer in the Layers panel or click in the text.
- With any tool selected, double-click the type layer’s T thumbnail in the Layers panel.
Select the words you want to replace and type the new ones. Then commit the change in any of these ways:
- Choose another tool.
- Click a layer in the Layers panel.
- Click the Commit button in the options bar.
- Click on the canvas away from the text you’re editing.
- Press Esc. By default, Esc commits your text. To make it cancel instead, go to Photoshop > Preferences > Type on a Mac, or Edit > Preferences > Type on Windows, and untick Use Esc key to commit text.
To throw away your changes, click the Cancel button in the options bar.
If a long song title no longer fits the design, reduce the font size or the letter spacing in the Character panel until it sits inside the layout.
Check the spelling
Choose Edit > Check Spelling before you export. It doesn’t check hidden or locked layers, so show and unlock the text layers first. Read the artist’s name letter by letter as well, because it won’t be in the dictionary.
4. Edit Smart Objects
A layer with a small Smart Object badge on its thumbnail holds embedded content, such as an image or a texture. Adobe’s page on embedded Smart Objects says to double-click the Smart Object thumbnail in the Layers panel to edit its contents.
Make your changes and save. Photoshop then updates every instance of that Smart Object in your document. So if a template uses the same Smart Object in more than one place, one edit updates all of them.
5. Change the colours
The Care Package is described as having easy-to-customise text and colours. Adobe’s page on formatting characters explains how to change type colour. Select the type layer in the Layers panel with the Horizontal Type tool active. Then click the colour box in the options bar or the Character panel and pick a colour in the Color Picker. To recolour only some letters, select them with the Type tool first.
If the colour doesn’t change, look for an fx badge on the layer. An overlay layer style sits on top of the type colour. Double-click the style under the layer in the Layers panel and change the colour there.
Keep the colours readable against your footage. Light text needs a darker background behind it, and dark text needs a lighter one.
6. Export a transparent PNG
First hide any background or photo layer you don’t want in the finished title, so those areas stay transparent. Then use Quick Export, as described in Adobe’s Quick Export guide:
- Go to Photoshop > Preferences > Export on a Mac, or Edit > Preferences > Export on Windows.
- Set the Quick Export Format to PNG and choose Transparency, then select OK.
- Choose File > Export > Quick Export as PNG. To export only some layers, select them in the Layers panel, right-click and choose Quick Export as PNG.
Save the edited PSD too, so you can change the wording later without starting again.
To put the finished title on your video, read Using Photoshop titles in Premiere Pro and other video editors. For what the card should say in the first place, see Music video title cards: what to include and where to place them.
If something goes wrong
If a file won’t open or looks wrong after you download it, contact Aligned Vision. The AV Store says that if you have a technical issue, we’ll do our best to help.